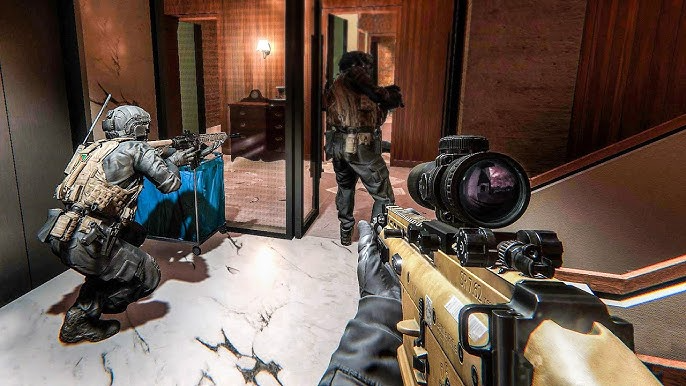
Competitive shooters have some of the craziest fans in gaming—they love to hate their favorite game while putting in 80 to 100 hours every week playing it, all year long. Which is more than most of us put in our jobs that enable us to pay for our living. Not only that, these gamers are cracked to the extent that they spend thousands of dollars on their gaming rig to gain 10 or 20 additional frames in their games to get a little advantage over their opponents.
Some even take it a step further by investing in rainbow boosting services to save time and reach higher ranks without grinding for hours. These gamers also like to spend hundreds of dollars on the inventory in a supposedly free-to-play game. These players have a borderline unhealthy love relationship with their games. They hate the game they put thousands of hours into, but they can’t stop playing it themselves. Now if you are one of those who love to hate their favorite game, then I don’t blame you—since I also share some similar kind of emotions towards Rainbow Six.
But it’s a fact that playing on more FPS in competitive games does provide you an additional advantage. If you play on higher frame rates, your input latency will be lower, you will see more of the information on your screen, and your click-to-shoot ratio will be better. Overall, you would have a better gaming experience in general, and in this blog, I am going to show you how you can improve your FPS in Rainbow Six Siege.
System optimization:
As always we have to start the guide with system optimization to free up more and more resources of our pc so that our game can utilize more of them. So to do that, we need to optimize our system by removing or disabling things that we don’t really use or don’t use often.
Disabling windows services
We are going to start with Windows services because tons of them always run in the background and hog resources to provide services that we don’t use or need. Here’s how you can disable some of them safely. Here is the list of the services which you don’t need. So you can disable them safely.
Application Layer Gateway Service
Phone Service
Alljoyn Router Service
Program Compatibility Assistant Service
AVCTP Service
Print Spooler Bitlocker
Parental Control
Bluetooth Support Service
Remote Registry
Connected User Experience and Telemetry
Retail Demo Service
Certificate Propagation
Secondary Logon
Diagnostic Policy Service
Smartcard
Diagnostic Service Host
TCP/IP NetBIOS Helper
Diagnostic System Host
Touch Keyboard and Handwriting Panel Service
Distributed Link Tracking Client
Windows Error Reporting Service
Download Maps Manager
Windows Insider Service
Enterprise App Management Service
Windows Image Acquisition
Fax.
There are tons of other services which I can’t list down here due to the short space. But you can disable them to gain a noticeable jump in performance and it will also improve your privacy. Since after disabling these services the window wouldn’t get your data sufficiently.
Disabling them is pretty easy just press windows+R and you’ll get a run pop-up now just copy this command “services.msc” and paste it there and hit enter Now new services will show up with these services. Now here’s what have to do
- Search up the services that I’ve given above right-click on them and get into the properties.
- Now there’ll be a drop-down menu stating “Startup Type”. Click on it and select Disabled in it.
And you’re done.
Uninstall unused Programs:
The second thing I want you to do is to uninstall programs that you don’t use and they run in the background continuously. If you want to save your pc from these resources hogging programs is to just uninstall them. But if you do use them then just disable them from running in the background until you start using them. You can do that just by going into the task manager. Here let me show you can do it yourself.
- The first step is to right-click on your taskbar and click on taskmanager. Or you could just the keyboard shortcut which is CTRL + SHIFT + Esc.
- After opening up the task manager go to the “Startup” tab.
- Now select programs that you don’t often use and disable them from starting up with Windows.
And you’re done. Now these programs will only start when you are trying to use them and they will no longer use the Computer’s resources in the background.
A couple more tweaks:
The next tweak which you can make is to put your pc on a higher power plan. This will allow your processor and GPU to boost more Megahertz and hence will improve the PC’s performance although it will also use a little more electricity. Doing this is pretty easy here let me show you can you do it.
- Press the Windows button and type Command prompt Or CMD
- Right-click on it and run it as an administrator.
- Now paste this command into it and hit enter
- powercfg -duplicatescheme e9a42b02-d5df-448d-aa00-03f14749eb61.
- Type exit and restart your pc.
And you’re done.
The next thing you can do it to designate a GPU to your R6 App. doing this will force your pc to explicitly run the game on the GPU you designate it to. Just go into graphics settings and search for Rainbow Six Siege. After finding it click on it and go into options now choose your discrete graphics card click on save and restart your pc.
Game Settings:
Now that we have optimized our pc and now it has more resources to give to our game. Now it is time to optimize our in-game settings. So the pc resources can be utilized to bring even more FPS. firstly we need to tackle the part of video settings and then we will go to the ini file to turn off settings that the game normally does not allow us to change.
Video Settings:
So here are the best in-game video settings for Rainbow Six Siege. This will provide you with a nice visuals-to-performance ratio.
| Setting | Parameter |
| Texture Quality | Medium |
| Texture Filtering | Anisotropic 4x |
| LOD Quality | Very High |
| Shading Quality | Low |
| Shadow Quality | Medium |
| Reflection Quality | Low |
| Ambient Occlusion | Off |
| Lens Effect | Off |
| Depth of Field | Off |
| Anti-aliasing. | Off |
These settings are mostly used by the e-sport professionals of the game. The only remaining settings which I have’nt listed above are the resolution one and the reason behind that is that resolution is highly preferential. So play on whatever resolution you wanna play on.
Ini File:
Now we are on the last step after completing this you are going to get an additional 30 to 40% increase in performance. So here we go let me show you if can you edit the ini files to change some settings to gain even more performance.
The Ini File is located in
- %USERPROFILE% \ Documents \My Games\Rainbow Six – Siege\ <user-id> \GameSettings.ini.
Just right-click on it and open it with your text editor Now change these settings:
- Turn off motion blur “MotionBlur=0”
- Limit your FPs to avoid tearing while also avoiding the nasty input lag that comes with vsync. “FPSLIMIT=120”. Or whatever is your monitor’s refresh rate is.
- Choose your GPU frame queue. So your GPU queues the frames behind the current one it will stabilize your frame rate but can and will increase the input lag due to latency between the current frame and the last one. So you would have to do a trial and error for your game. I’d recommend a value between 0 to 2. Nothing more than that.
And you’re done. Now restart your pc and you will be able to get a pretty decent Jump in performance while also keeping the Visuals to look good.


